Why Your Insurance Claim Photos Matter More Than You Think
When you file a property damage claim, your photographs become the primary evidence that determines how much your insurance company pays. An adjuster spends a limited amount of time at your property, and the photos you take before, during, and after their visit fill in the gaps. Poor documentation leads to underpaid claims. Thorough documentation leads to fair settlements.
After helping thousands of Florida homeowners through the claims process, WrightWay Emergency Services has seen firsthand how photo quality affects claim outcomes. This guide teaches you exactly how to photograph damage like a professional so your claim gets the attention and payout it deserves.
Essential Equipment: You Already Have What You Need
You do not need a professional camera. A modern smartphone is more than sufficient. Before you start photographing damage, prepare your phone:
- Clean your lens. A smudged lens produces blurry images that adjusters will struggle to interpret.
- Enable location services for your camera app. GPS-tagged photos prove where the damage occurred.
- Verify date and time stamps are accurate in your phone settings. Metadata timestamps prove when photos were taken.
- Clear storage space. You will take far more photos than you expect, so make sure you have room.
- Charge your battery. A thorough documentation session can take 30 minutes to an hour.
Additional Helpful Items
- A flashlight or your phone’s flashlight for dark areas (cabinets, crawl spaces, attics)
- A tape measure or ruler to show scale and depth of damage
- A notepad to record descriptions you cannot capture in photos
- A newspaper or device showing today’s date for additional timestamp verification
The Three-Layer Photography Method
Professional adjusters and restoration companies use a three-layer approach that tells a complete visual story. Follow this method for every affected area:
Layer 1: Wide Shots (Context)
Start with wide-angle photos that show the entire room or area. These establish context and help the adjuster understand the layout and overall scope of damage.
- Stand in the doorway and photograph the full room
- Capture each wall of the room from corner to corner
- Include reference points (doors, windows, built-in features) that orient the viewer
- For exterior damage, stand far enough back to capture the full structure
Layer 2: Mid-Range Shots (Specific Damage Areas)
Move closer and photograph each specific area of damage. These photos should clearly show what is damaged and how severely.
- Photograph each damaged section of wall, floor, or ceiling
- Capture water stains, discoloration, warping, bubbling, or peeling
- Show where damage starts and ends (the boundary between affected and unaffected areas)
- Include a tape measure in the frame to establish the size of the damaged area
Layer 3: Close-Up Shots (Detail)
Get close enough to show the texture and severity of the damage. These detail shots prove the extent of material degradation.
- Close-ups of cracked, warped, or swollen materials
- Mold growth with enough detail to see the extent and color
- Brand names, serial numbers, and model numbers on damaged appliances
- The damage source itself (burst pipe joint, failed appliance connection, roof penetration)
Room-by-Room Documentation Checklist
For each affected room, photograph the following:
| Element | What to Capture |
|---|---|
| Floors | Warping, buckling, staining, standing water, delamination |
| Walls | Water lines, staining, bubbling paint, soft/crumbling drywall |
| Ceilings | Sagging, staining, dripping, collapsed sections |
| Baseboards | Swelling, warping, separation from wall, discoloration |
| Cabinets | Interior water damage, swelling, delamination, mold |
| Appliances | Water lines, corrosion, serial number plates, damage source |
| Personal property | Each damaged item individually with identifying details |
| HVAC system | Water intrusion into vents, ductwork, or equipment |
Photographing Specific Types of Damage
Water Damage
- Place a ruler vertically in standing water to document depth
- Photograph the water source and the path water traveled
- Capture water stains on walls, showing the high-water mark
- Document moisture meter readings if a restoration professional provides them
- Photograph affected areas with and without flash; flash reveals moisture sheen
Fire and Smoke Damage
- Document soot patterns on walls and ceilings
- Photograph melted or charred materials up close
- Capture smoke staining on soft goods (curtains, upholstery, clothing)
- Show the fire’s point of origin if visible
- Document smoke damage in rooms far from the fire source
Storm and Wind Damage
- Photograph your property from all four sides
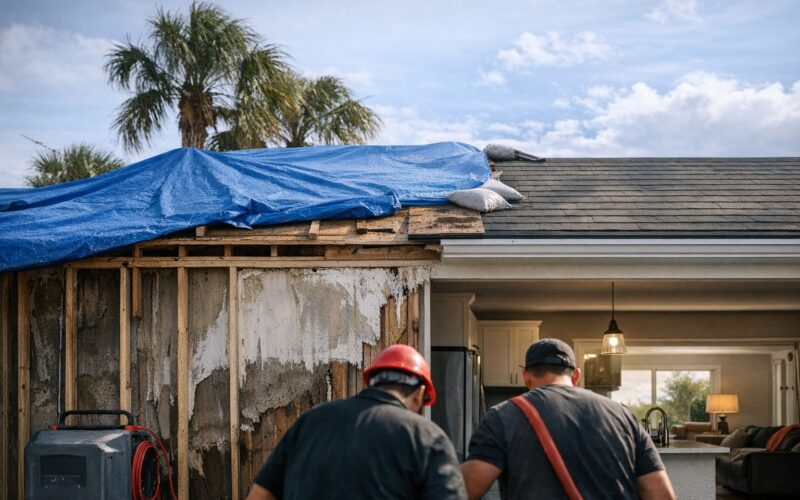
- Document missing or damaged roofing materials from ground level and above if safely possible
- Capture fallen trees or debris and where they struck the structure
- Photograph damage to fences, sheds, screen enclosures, and other structures
- Include neighborhood context showing the storm’s general impact
Video Documentation: An Underused Tool
WrightWay documents every loss to insurance standards, photos, moisture logs, and itemized scopes your adjuster can approve without back-and-forth.
In addition to photos, record a walkthrough video of every affected area. Video captures details that individual photos may miss and provides narration opportunities.
Video Best Practices
- Walk slowly through each room, pausing on areas of damage
- Narrate as you go: describe what you see, point out damage, and note the location
- Move the camera slowly; rapid panning creates unusable footage
- Record in landscape (horizontal) mode for better coverage
- Keep individual clips under 2 to 3 minutes for easier review
- Record the sound of running water, dripping, or mechanical noise if relevant
Documenting Personal Property
Damaged personal belongings represent a significant portion of many claims. For each item:
- Photograph the item showing the damage clearly
- Capture the brand name, model number, and serial number
- If you have the original receipt, photograph it alongside the item
- Group similar items together (all damaged clothing in one area, for example) and photograph the group plus individual items of significant value
- Make a written list including the item description, approximate age, and estimated replacement cost
Common Photography Mistakes That Hurt Claims
Avoid these errors that restoration professionals see homeowners make regularly:
- Taking too few photos. You cannot have too many. Take 100 or more if the damage is extensive. It is better to have 50 photos you do not need than to lack the one photo that would have supported your claim.
- Cleaning up before photographing. Document the damage in its worst state before any cleanup begins.
- Only photographing obvious damage. Also photograph areas adjacent to the damage, undamaged areas for comparison, and the exterior of the home.
- Blurry or dark images. Take your time. Use flash in dark areas. If a photo is blurry, retake it immediately.
- Failing to photograph the source. The burst pipe, failed appliance, or roof penetration is critical evidence for establishing cause of loss.
- Discarding damaged items before photographing them. Never throw anything away until it is thoroughly documented.
After the Adjuster’s Visit
Continue photographing throughout the restoration process:
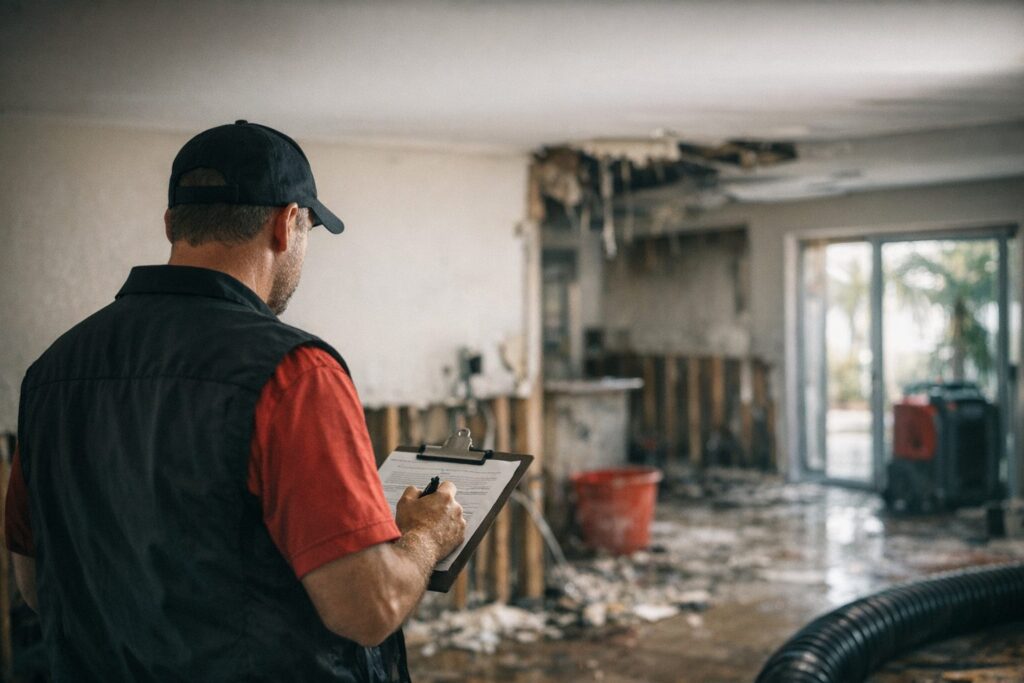
- During demolition, capture hidden damage revealed behind walls and under floors
- Document mold or structural damage discovered during tear-out
- Photograph the completed reconstruction for your records
- These photos support supplemental claims if hidden damage increases the scope
Let WrightWay Help Document Your Damage
When WrightWay Emergency Services responds to your property damage call, our technicians begin professional documentation immediately. We use calibrated moisture meters, thermal imaging, and systematic photography to create a comprehensive record that supports your insurance claim. Our documentation has helped countless homeowners receive fair settlements.
Dealing with property damage in Southwest Florida? Call (941) 379-8669 for 24/7 emergency response. We will protect your property and your claim from the first minute.
WrightWay handles every restoration job from emergency response through licensed reconstruction.
One IICRC-certified team, one project manager, one phone call. Available 24/7 across Sarasota, Manatee, Charlotte, Lee, and Collier counties.
Add us as a preferred source and our storm updates, claim guides and restoration answers show up higher when you search.