Why Drying Out a Flooded House Is Harder Than You Think
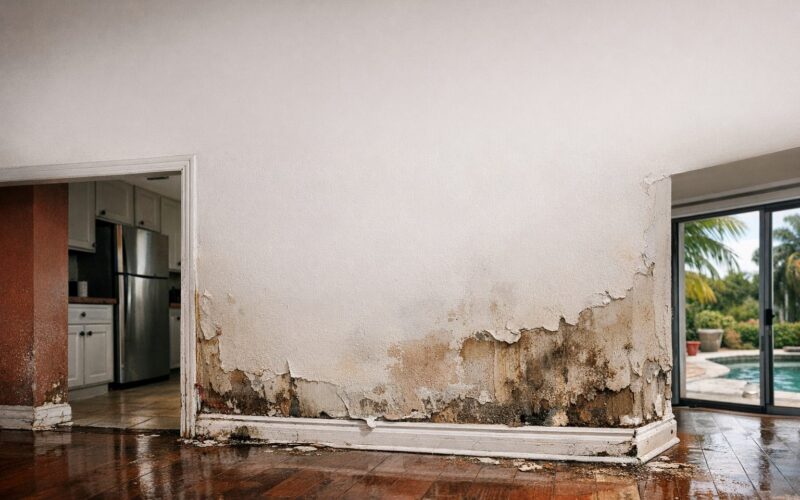
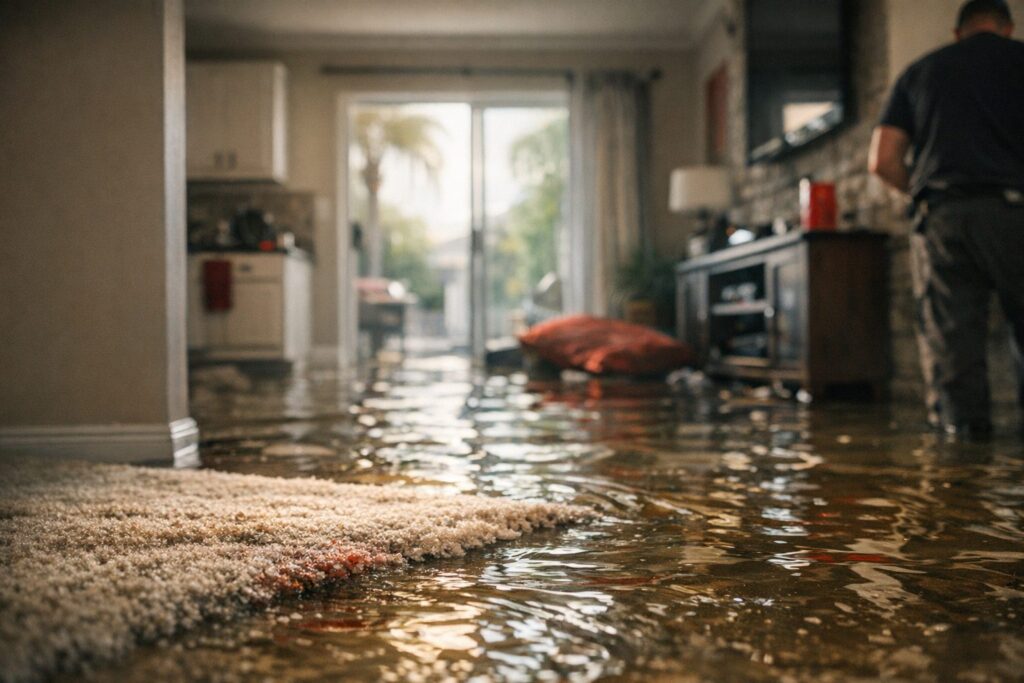
When floodwater enters your home, the visible standing water is only part of the problem. Water wicks into drywall, saturates insulation inside wall cavities, soaks into subfloor and floor joists, and penetrates concrete slabs. A house that looks dry on the surface can retain dangerous levels of moisture for weeks — moisture that fuels mold growth, wood rot, and structural deterioration.
Professional structural drying follows a science-based process that accounts for every material in the building envelope. Here is the complete step-by-step approach that WrightWay Emergency Services uses to dry flooded homes across Southwest Florida.
Step 1: Ensure Safety Before Entering
Before any drying work begins, the structure must be assessed for safety hazards:
- Electrical systems: All power must be disconnected at the main breaker before entering a flooded structure. Flood-damaged electrical systems are extremely dangerous and must be cleared by a licensed electrician before power is restored.
- Structural integrity: Floodwater can undermine foundations, shift walls, and weaken load-bearing elements. Look for cracks in the foundation, walls that are bowing or leaning, and sagging ceilings before entering.
- Contamination: All floodwater is classified as Category 3 (grossly contaminated) regardless of source. It contains sewage, chemicals, petroleum products, and biological hazards. Full personal protective equipment — including N95 respirators, rubber boots, chemical-resistant gloves, and eye protection — is required.
- Gas leaks: If you smell natural gas or propane, evacuate immediately and call your utility provider.
Step 2: Document Everything Before Touching Anything
Before removing any water or materials, thorough documentation is essential — both for insurance purposes and for establishing the scope of work:
- Photograph and video every room, showing the high-water mark on walls
- Document all damaged contents (furniture, appliances, personal property)
- Take moisture readings with a calibrated moisture meter to map the extent of water penetration
- Record the water source and category (this determines the cleanup protocol)
This documentation forms the foundation of your insurance claim. Without it, you may not receive full compensation for your losses.
Step 3: Extract Standing Water
Removing standing water as quickly as possible is critical. Every hour that water sits in your home, it penetrates deeper into building materials and increases the scope of damage.
- Truck-mounted extractors remove hundreds of gallons per hour — far faster than consumer-grade wet vacuums or sump pumps
- Weighted extraction tools press into carpet and pad to pull water from the fibers and backing
- Hard surface extractors use squeegee attachments to remove water from tile, hardwood, and concrete
Professional extraction removes 80 to 90 percent of the water in the structure. The remaining moisture — trapped in wall cavities, subfloor, and building materials — must be removed through controlled evaporation and dehumidification.
Step 4: Remove Non-Salvageable Materials
In a flood scenario (Category 3 water), porous materials that absorbed floodwater cannot be decontaminated and must be removed:
- Drywall: Cut and remove at least 12 to 24 inches above the visible water line (moisture wicks upward)
- Insulation: All wet insulation in wall cavities and under floors must be removed and replaced
- Carpet and pad: Flood-soaked carpet is not salvageable and must be discarded
- Baseboards and trim: Remove to allow wall cavities to dry and to access wet materials behind them
- Laminate and engineered flooring: These materials absorb water, swell, and cannot be restored after flooding
- Cabinets with particleboard construction: Particleboard swells permanently when saturated
What Can Usually Be Saved
- Wood framing: Solid wood studs, joists, and rafters can be dried and treated with antimicrobial agents
- Concrete and masonry: These materials dry slowly but can be restored
- Ceramic tile: If the substrate underneath is sound, tile flooring often survives
- Solid wood furniture: Depending on the finish and duration of exposure, solid wood pieces may be salvageable
Step 5: Set Up Professional Drying Equipment
This is where the science of structural drying comes in. Professional drying is not about blowing air around a room — it is about creating the precise environmental conditions that force moisture out of building materials as quickly as possible.
Air Movers
High-velocity air movers (not household fans) create airflow across wet surfaces at speeds of 1,500 to 3,000 feet per minute. This breaks the boundary layer of saturated air clinging to wet materials, dramatically accelerating evaporation. A typical flooded home requires 20 to 40 air movers positioned at specific angles for maximum efficiency.
Commercial Dehumidifiers
As air movers pull moisture out of materials and into the air, commercial dehumidifiers capture that moisture and remove it from the environment. Professional-grade LGR (Low Grain Refrigerant) dehumidifiers remove 15 to 30 gallons of water per day — compared to 2 to 5 gallons for a consumer unit from a hardware store. Without adequate dehumidification, the moisture you evaporate from one surface simply condenses on another.
Specialty Equipment
- Injectidry systems: Force dry air into wall cavities, under cabinets, and inside enclosed spaces that air movers cannot reach
- Floor drying mats: Create a sealed chamber over hardwood or concrete floors to draw moisture upward through controlled vacuum and heat
- Desiccant dehumidifiers: Used when temperatures are too low for refrigerant dehumidifiers or when extremely low humidity levels are needed
Step 6: Monitor and Adjust Daily
If water reached walls, flooring seams, or sat overnight, fans alone rarely save the materials. A free moisture inspection tells you exactly what is wet and what it costs to fix.
Professional drying is not a set-it-and-forget-it process. A certified technician monitors conditions daily:
- Moisture meter readings on all affected materials — walls, floors, framing, subfloor
- Temperature and relative humidity monitoring in every affected room
- Grain depression calculations to ensure the dehumidifiers are maintaining optimal drying conditions
- Equipment adjustments — repositioning air movers, adding or removing dehumidifiers, and adjusting airflow patterns as materials reach different stages of drying
Each monitoring visit is documented with readings that become part of your drying record — critical evidence for insurance claims and future property transactions.
Step 7: Verify Dry Standard
Drying is complete when all affected materials reach their dry standard — the moisture content that matches the same material in unaffected areas of the home or falls within the accepted range for that material type:
- Wood framing: Below 15 percent moisture content
- Drywall: Below 1 percent on a non-penetrating moisture meter (relative scale)
- Concrete slab: Below 75 percent relative humidity per ASTM F2170 in-situ testing
Declaring a structure “dry” without instrument-verified readings is guessing — and guessing leads to mold growth behind new drywall and under new flooring.
Typical Drying Timelines
In Southwest Florida’s hot, humid climate, professional structural drying typically takes:
- Minor flooding (1-2 inches, limited area): 3 to 5 days
- Moderate flooding (several rooms, wall cavities involved): 5 to 7 days
- Major flooding (entire home, multiple floors): 7 to 14 days
- Concrete slab drying: Can extend to 14 to 21 days due to the density of concrete
Florida’s high ambient humidity slows drying compared to drier climates. This is why commercial-grade dehumidification is non-negotiable — household dehumidifiers simply cannot overcome the moisture load in a flooded Florida home.
Common Mistakes That Lead to Mold
These mistakes are responsible for the majority of post-flood mold problems we see:
- Turning off drying equipment too early because the home “feels dry” — surfaces dry first, but materials deep inside walls and under slabs retain moisture for days longer
- Failing to remove wet drywall and insulation — these materials trap moisture and create ideal mold conditions inside wall cavities
- Using only fans without dehumidification — this just moves humid air around without removing moisture from the environment
- Closing up the house and running the AC — while AC does dehumidify somewhat, it cannot match the capacity needed for structural drying and may spread contaminants through ductwork
- Rebuilding before materials are verified dry — sealing wet framing behind new drywall is the single most common cause of hidden mold in flood-damaged homes
Call WrightWay for Professional Flood Drying
If your home has been flooded, time is your enemy. Every hour of delay increases the scope of damage and the risk of mold. WrightWay Emergency Services provides 24/7 emergency flood response across Southwest Florida with truck-mounted extraction, commercial drying equipment, and IICRC-certified technicians who monitor the process from start to verified dry standard.
Call (941) 379-8669 now for immediate flood drying services. We work directly with your insurance company to document every step of the process.
WrightWay handles every restoration job from emergency response through licensed reconstruction.
One IICRC-certified team, one project manager, one phone call. Available 24/7 across Sarasota, Manatee, Charlotte, Lee, and Collier counties.
Add us as a preferred source and our storm updates, claim guides and restoration answers show up higher when you search.